Sometime last year, I got the idea to start poking around Synology forums and support venues to see if someone had gone through the effort to get a Git server up-and-running on any Synology NAS models.
I figured that someone HAD to have gone through the effort, since one of the growing trends in computing is to build up more and more sophisticated “homelab” systems.
After all, the computational horsepower needed to run a version control system is easily provided by even the most barebones of NAS devices.
As for the target hardware, I currently operate a Synology DS213+ NAS that is used mostly for media storage purposes.
In addition to being a data store for family media, I also keep technical and creative projects in there so they can be easily accessed across all of my personal computing devices.
Using my DS213+ as a Git server is the next logical step in making my NAS a one-stop shop for all my side projects.
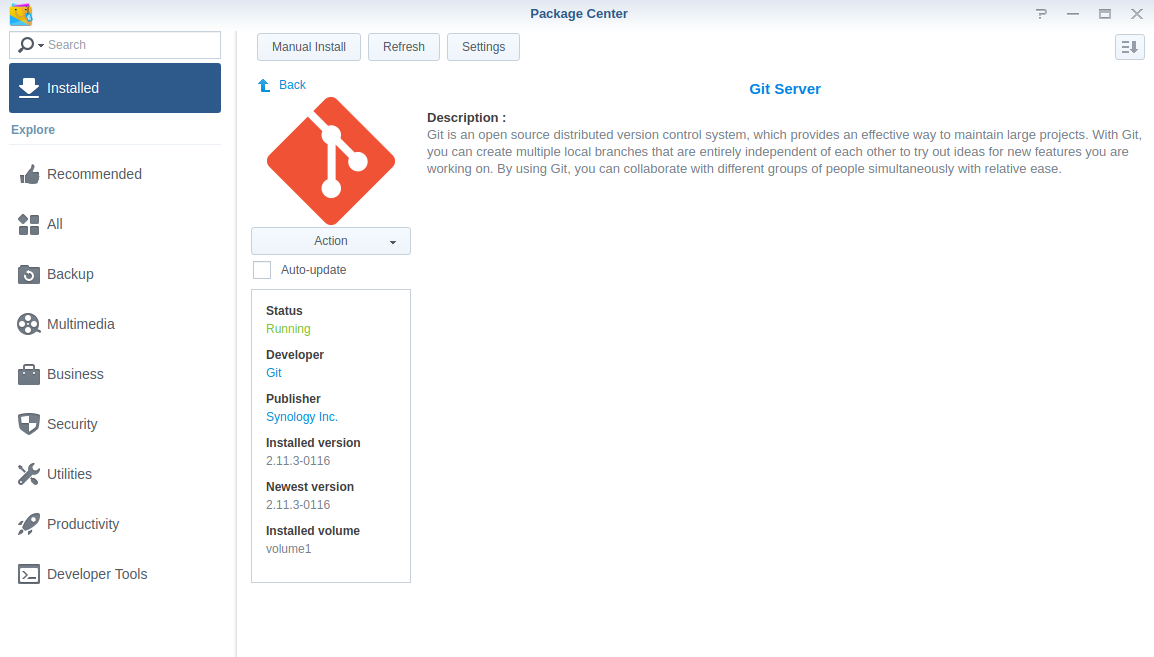
As it turns out, Synology has a great first-party-developed package for setting up and supporting a Git server.
There are also some decent how-to guides to enable remote access and perform initial server setup, although most of the guides I referenced were usually missing an important step here or there.
In an effort to document this process for myself (and to fill in some of those gaps), I will to outline the process of how I set up my Synology NAS to act as a Git server.
If you intend to follow this as a guide, make sure your version of DiskStation Manager (or DSM) is up-to-date and refer to the Applied Models list on Synology’s website to see if you have a supported server model. You will also need administrator access in order to install the Git Server package, configure permissions, and establish or change repositories on the server itself.
Installing and Configuring Git Server
- 1) Log into your Synology as the
admin, go to the Package Center, and install the Git Server package.
I highly recommend setting up ssh access so that push-pull operations do not require username/password credentials every time you interact with your remote server.
DSM is a slightly tweaked flavor of GNU/Linux, so typical methods for enabling and securing access via SSH will apply here.
If you are not familar with ssh, you will have to go through Synology’s official methods for gaining command-line access to the server.
Setting up SSH Access on your Synology
- 2) Go to the Control Panel > Advanced Mode > Terminal & SNMP.
- 3) Click the Enable SSH Service option under the Terminal tab. Change your default SSH port, if desired.
NOTE: Synology restricts SSH/Telnet connections to members of the Administrators group on any particular Synology device. If you don’t already have a git-access-specific user with administrator privileges, it is a good time to create one. From here on out, if I need to refer to this specific user, I will do so with <git-username>. Just replace <git-username> with your user when following these instructions.
- 4) Go to the Control Panel > User section and create the
<git-username>user. - 5) Add this new user to the Administrators group. Depending on your repository location, you may need to add Read/Write permissions for the
rootpart of the NAS filesystem inside/volume1. - 6) Go to the Main Menu > Git Server and click the Allow Access check box for
<git-username>.
NOTE: From here on out, I will be using the command line (and connecting via SSH instead of the Synology browser-based front end).
In order to follow along, you will need the IP address for your Synology NAS on the network.
I will refer to that IP as <nas-address> where necessary.
Just replace <nas-address> with your server’s IP address when following these instructions.
NOTE: Now would be the time to have a public key file ready to facilitate easier access to your NAS server. Good tutorials to follow are here or here.
- 7) On the NAS server, log in as
adminand configuresshto streamline repository access in the future. If you get an error about the “homes” directory not existing (or something similar), look on this Synology support topic and modify the general user settings to Enable User Home Service:
$ ssh admin@<nas-address>
$ sudo -i

$ cd /volume1/homes/<git-username>/
$ mkdir .ssh
- 8) On the local machine, copy your public key to the newly-made
.sshfolder on the NAS:
$ scp ~/.ssh/id_rsa.pub admin@<nas-address>:/volume1/homes/<git-username>/.ssh
- 9) Back on the NAS server, use the public key you transferred over to act as the lone authorized user in the
<git-username>profile and set file permissions accordingly:
$ ssh admin@<nas-address>
$ sudo -i

$ cd /volume1/homes/<git-username>/.ssh
$ mv id_rsa.pub authorized_keys

$ cd /volume1/homes/
$ chown -R <git-username>:administrators <git-username>/.ssh
$ chmod 750 <git-username>
$ chmod 700 <git-username>/.ssh
$ chmod 600 <git-username>/.ssh/authorized_keys
Creating a Repository
Following along with the assumption that the <git-username> user will access git repositories either in /volume1/root/ or just /volume1/ itself, we need to actually initialize the repository now.
I will assume /volume1/git/<dummy-name.git> is the target path, where <dummy-name> is the target repository name; make changes to the target path or repository name as required.
You will have to repeat this step for every individual repository that is to be hosted on the server.
$ # SSH into the NAS server as <git-username>
$ ssh <git-username>@<nas-address>

$ # Navigate to your prospective repository location and initialize a new, shared repository
$ mkdir /volume1/git
$ cd /volume1/git
$ git init --bare --shared <dummy-name.git>

$ # It also may be a good idea to open up the permissions for the git repository, just in case
$ chmod -R 766 <dummy-name.git>
3
$ # Finally, update the pack information for the git service running on the NAS
$ cd <dummy-name.git>
$ git update-server-info
Cloning a Repository
Try this command in a folder on your local machine:
$ git clone ssh://<git-username>@<nas-address>/volume1/git/<dummy-name.git>
You can now push to and pull from the remote repository on your local server.
References and Helpful Extensions
How to login to DSM with root permission via SSH/Telnet
Configure Synology NAS as Git Server
Log in to a Synology DiskStation using SSH keys as a user other than root
Git Server on Synology NAS: Installation and Configurations
How to Host a Website on a Synology NAS